Welcome to our area to tell you about more details
Below is our new details as of 11-14-2015
I have been mostly working on an educational project recently. I had some nervousness that people may look at the pistonrobot and actually have some interest in it either from the viewpoint of studying the Pistonrobot to understand it, or from the viewpoint of considering to make a Pistonrobot drawing of their own. My nervousness was that people could perhaps decide that this whole pistonrobot endeavor looks so complex that it really would not be something that just anyone could do.
My feeling is that the pistonrobot is not that complicated, once one understands that it is built in a series of steps, one at a time, with each step building on the series of steps that preceded it. I thought I would make a set of educational videos to demonstrate how to use SketchUp to create a 3D drawing of a pistonrobot. These educational videos are on this website and are also available on YouTube. Both here at the website and at YouTube, these educational videos are listed under the name:
Pistonrobot Little Robot Part xx (where xx is the number of the video).
Currently there are 27 videos. These educational videos led to the creation of what I think is a simpler version of the pistonrobot. I call this version Little Robot, because Pistonrobot took a lot of time to create, particularly the process of shrinking its size. Little Robot took a little amount of time to create, hence the name. I do agree that there is some strangeness in the situation that Little Robot is a LOT bigger than pistonrobot. Oh well.
Part of the simplicity of Little Robot is that its parts are not as “nested” inside places where other parts are nearby as is in pistonrobot. This actually makes it much easier to move Little Robot around, because the indexing marks that allow for proper and accurate motions, especially rotary motions, are easier to get to as I use SketchUp to move the parts of Little Robot around.
So, anyway, I’ve been getting Little Robot all “tuned up”, and just for fun, I put little robot on a fence post, really just showing off.
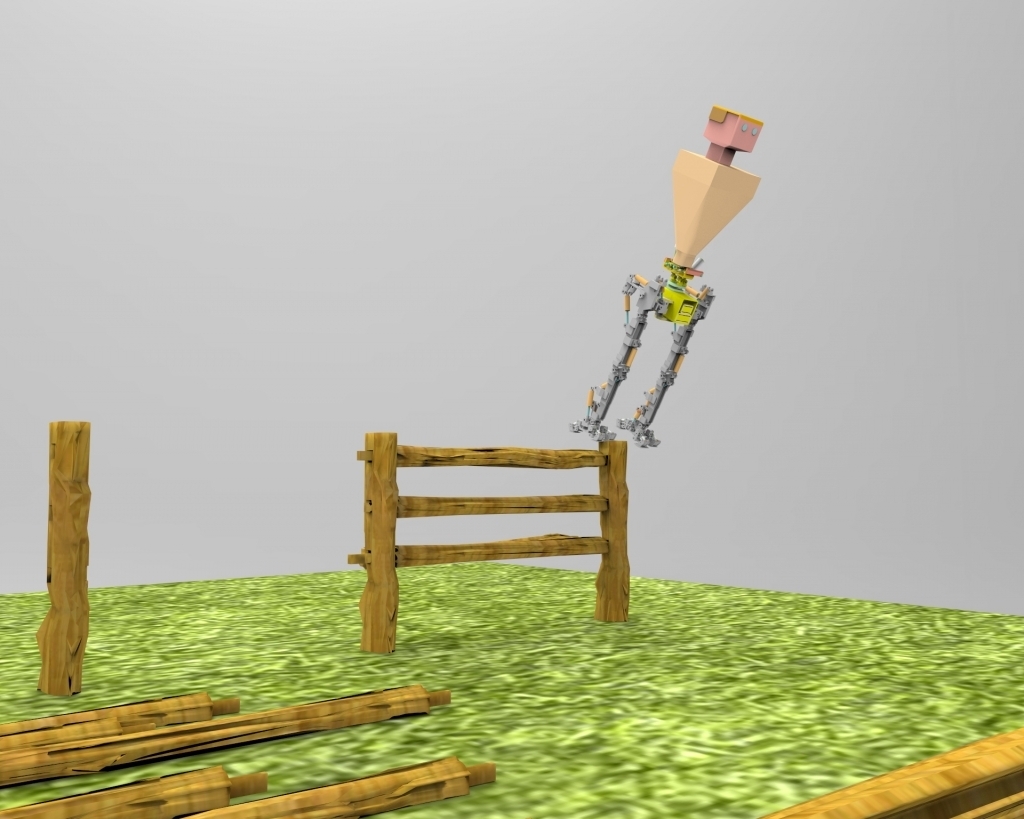
And I added the fence posts and cross pieces and the grass just to add some color, really, again, just for fun. I do always suggest, you are so much better off to go to the Trimble 3D warehouse and go to my collection there under the collection name: pistonrobot and download the actual drawing and then open it on your own computer using SketchUp (remember you can download the SketchUp program for free). If you look around in the drawing, you’ll see that the robot is standing just on its right big toe. Hey, why not?
Little Robot is clearly not balanced in this initial drawing (by the way, I would add again, this drawing is actually a rendering of the SketchUp drawing using the rendering program KeyShot). SketchUp does do rendering, but the KeyShot renderings just seem better to me with respect to the lighting and the way they convey a sense of physicality.
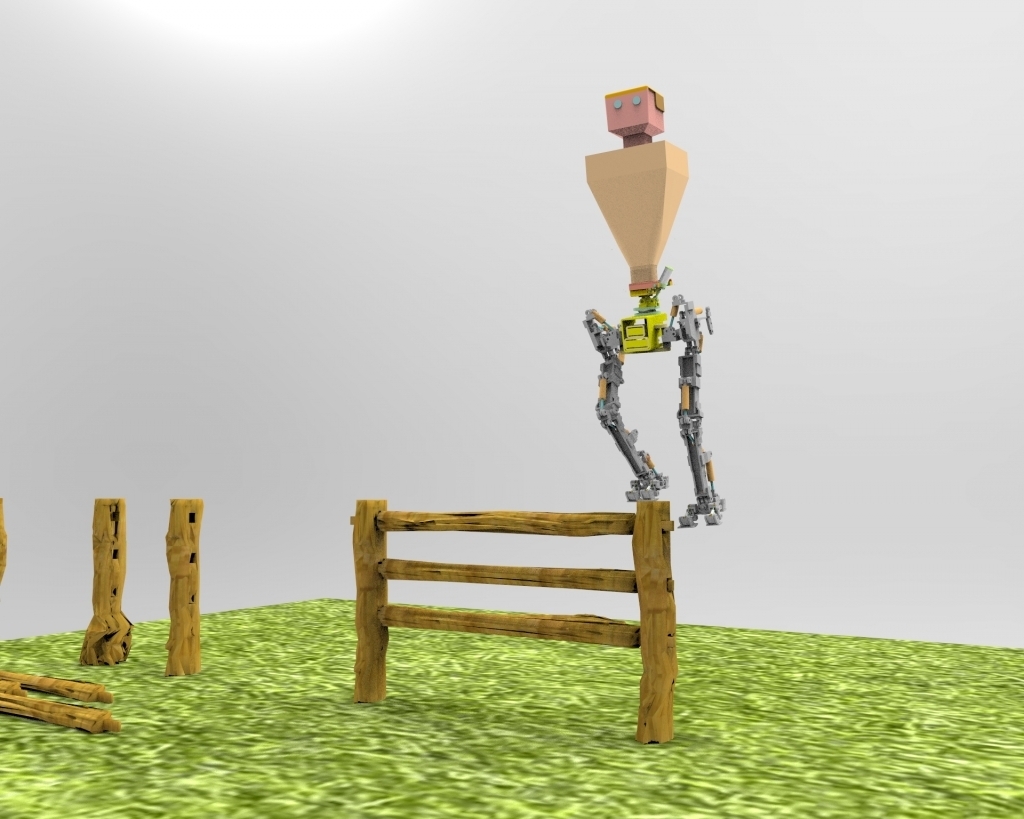
I moved the parts of the Little Robot around to bring it into balance.
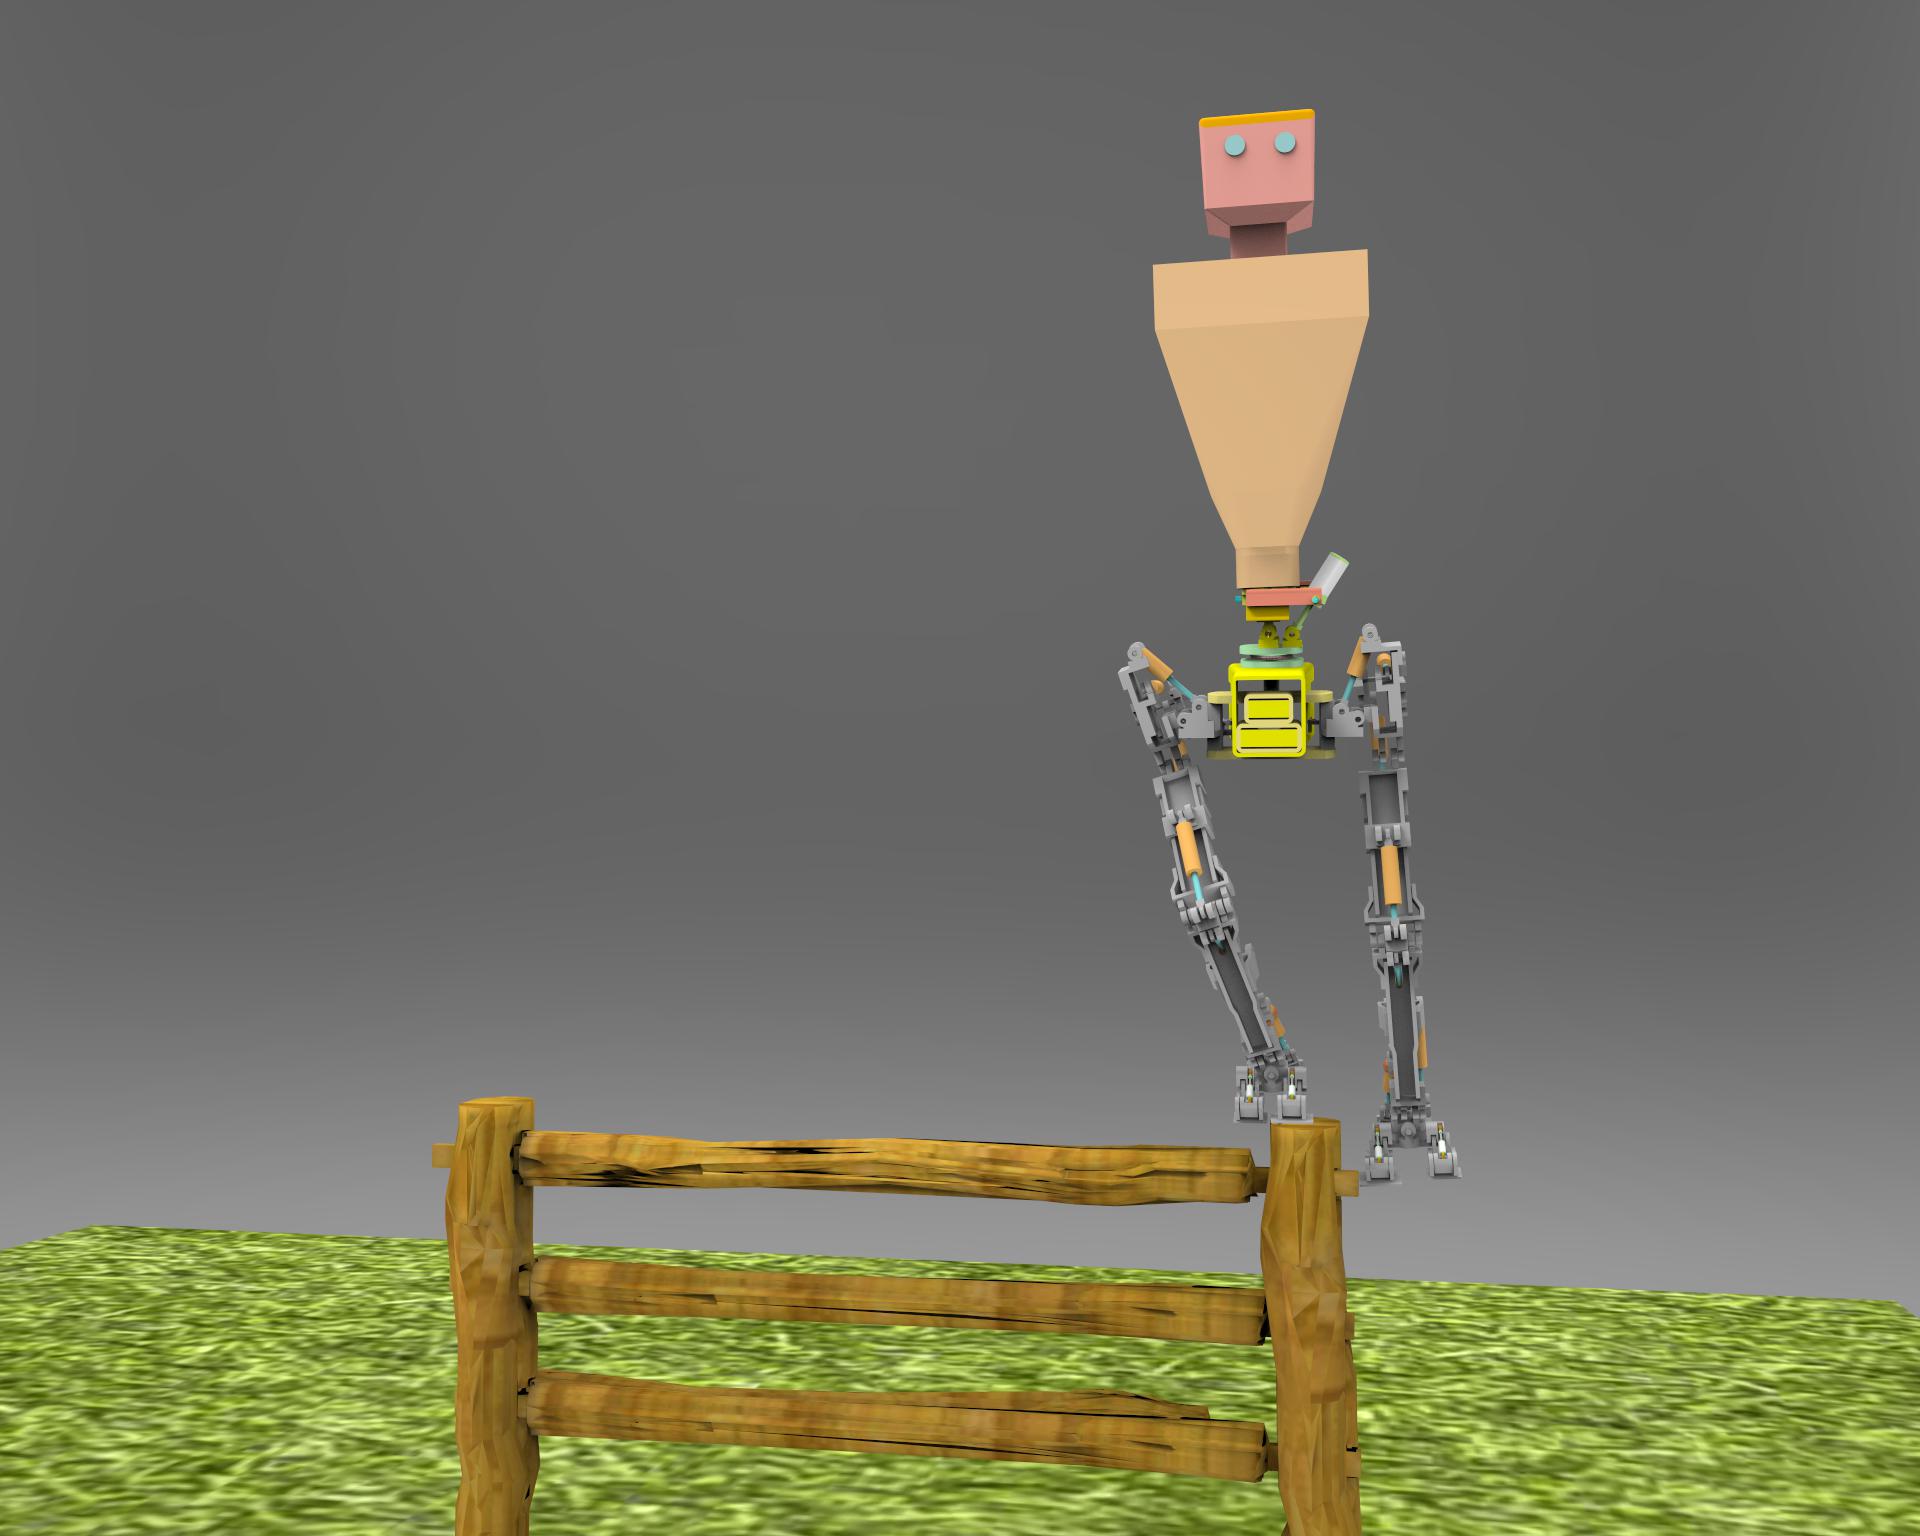
OK, so now I think its time to go on to demonstrate walking. I feel we need to start with the robot in a stable, balanced, neutral position. Then we begin to move the robot off balance in a very specific manner. This initial off balancing event is very specifically designed to create an off balance position for the robot where the motion that solves this off balance position is a motion that gives the robot the beginning of walking.
The sequence will be:
- Tilt the robot backward and to the right. This will unweight the left leg
- Once the left leg (and foot) are completely unweighted, lift up the left foot and move the left leg and left foot forward
- The action of moving the left leg forward acts the move the center of gravity of the robot to the left and forward
- Let the pelvis and thorax of the robot continue to fall forward and to the left until the right foot and right leg are unweighted.
- When the pelvis is far enough to the left that the robot is essentially centered over the left foot, then put the left foot onto the ground and let the left leg and left foot now support the robot.
- Lift up the right leg and right foot (this is now possible because they have been unweighted) and move them forward
- Moving the right leg and right foot forward acts to also move the center of gravity of the robot to the right and forward having the effect that the current action of the robot (falling forward and to the left) is counteracted.
- And, actually, because of the actions of the right leg, the robot will begin to be unbalanced sufficiently that it begins to fall to the right and forward.
- Let the motion in 8) above continue until the left leg is unweighted again.
- When the rightward and forward motion of the pelvis gets the robot where the robot is centered over the right foot, then put the right foot onto the ground
- At this point, we are back to the situation equal to 2) above, and the cycle can be repeated over and over to let Little Robot walk.
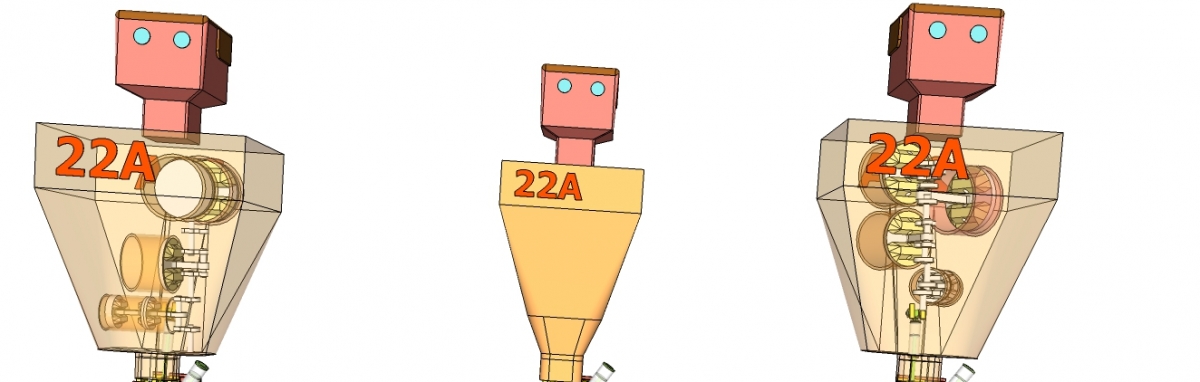
So here’s a few shots of the drawings that will illustrate the steps above.
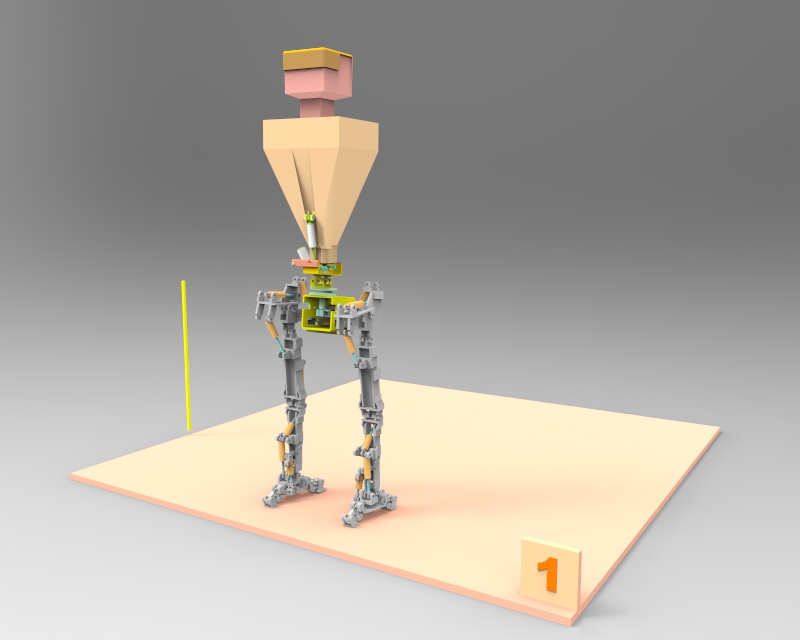
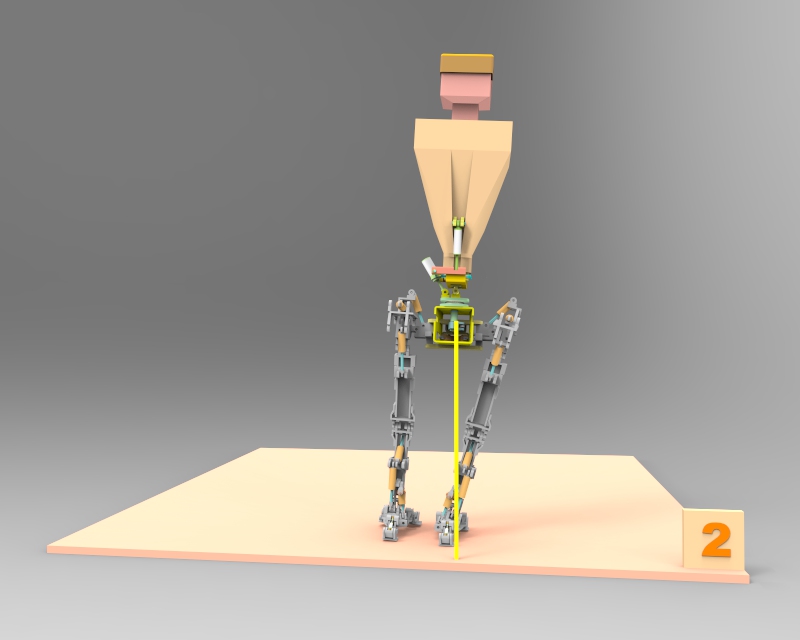
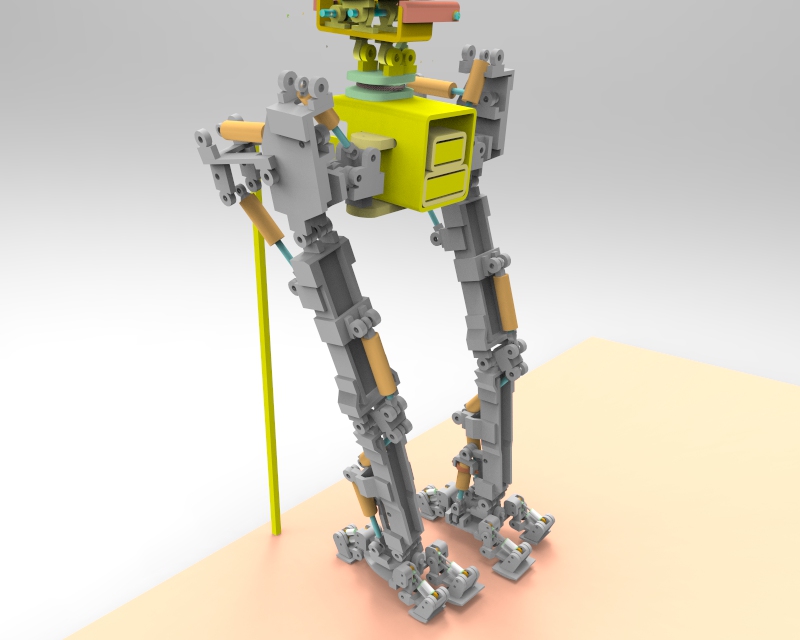
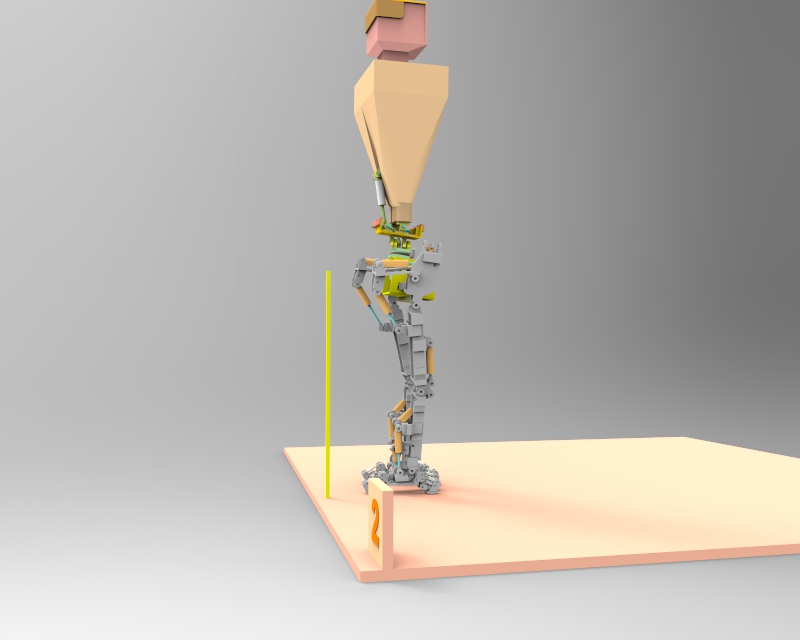
The stance labeled 1 is the neutral stance. The stance labeled 2 is the tilting inward of the right leg and the moving of the pelvis to the right so that the left leg will be unweighted. I put a yellow vertical bar in the pictures so one can see where vertical is. The next part of the stances will be to add some backward tilt to the stance 2. This allows motion of the left leg forward to have the proper effect as discussed above. I plan to get all the stances done in a manner where the stride is longer by the right leg than the left so that as the strides take place, the robot will actually be walking around in a circle. If I can get it to work as I imagine it, then when the robot is at the final stance, it will have walked around in a circle and will be back to where it was when it all started. We’ll see. When I can get all the stances created, I’ll combine them into one big drawing and send that to the 3D warehouse.
I really do not understand this posting stuff all that well. I think what I will do is that the next time I have any meaningful updates, I will just add them to the top of this page like I did for this update. I hope it works. pg